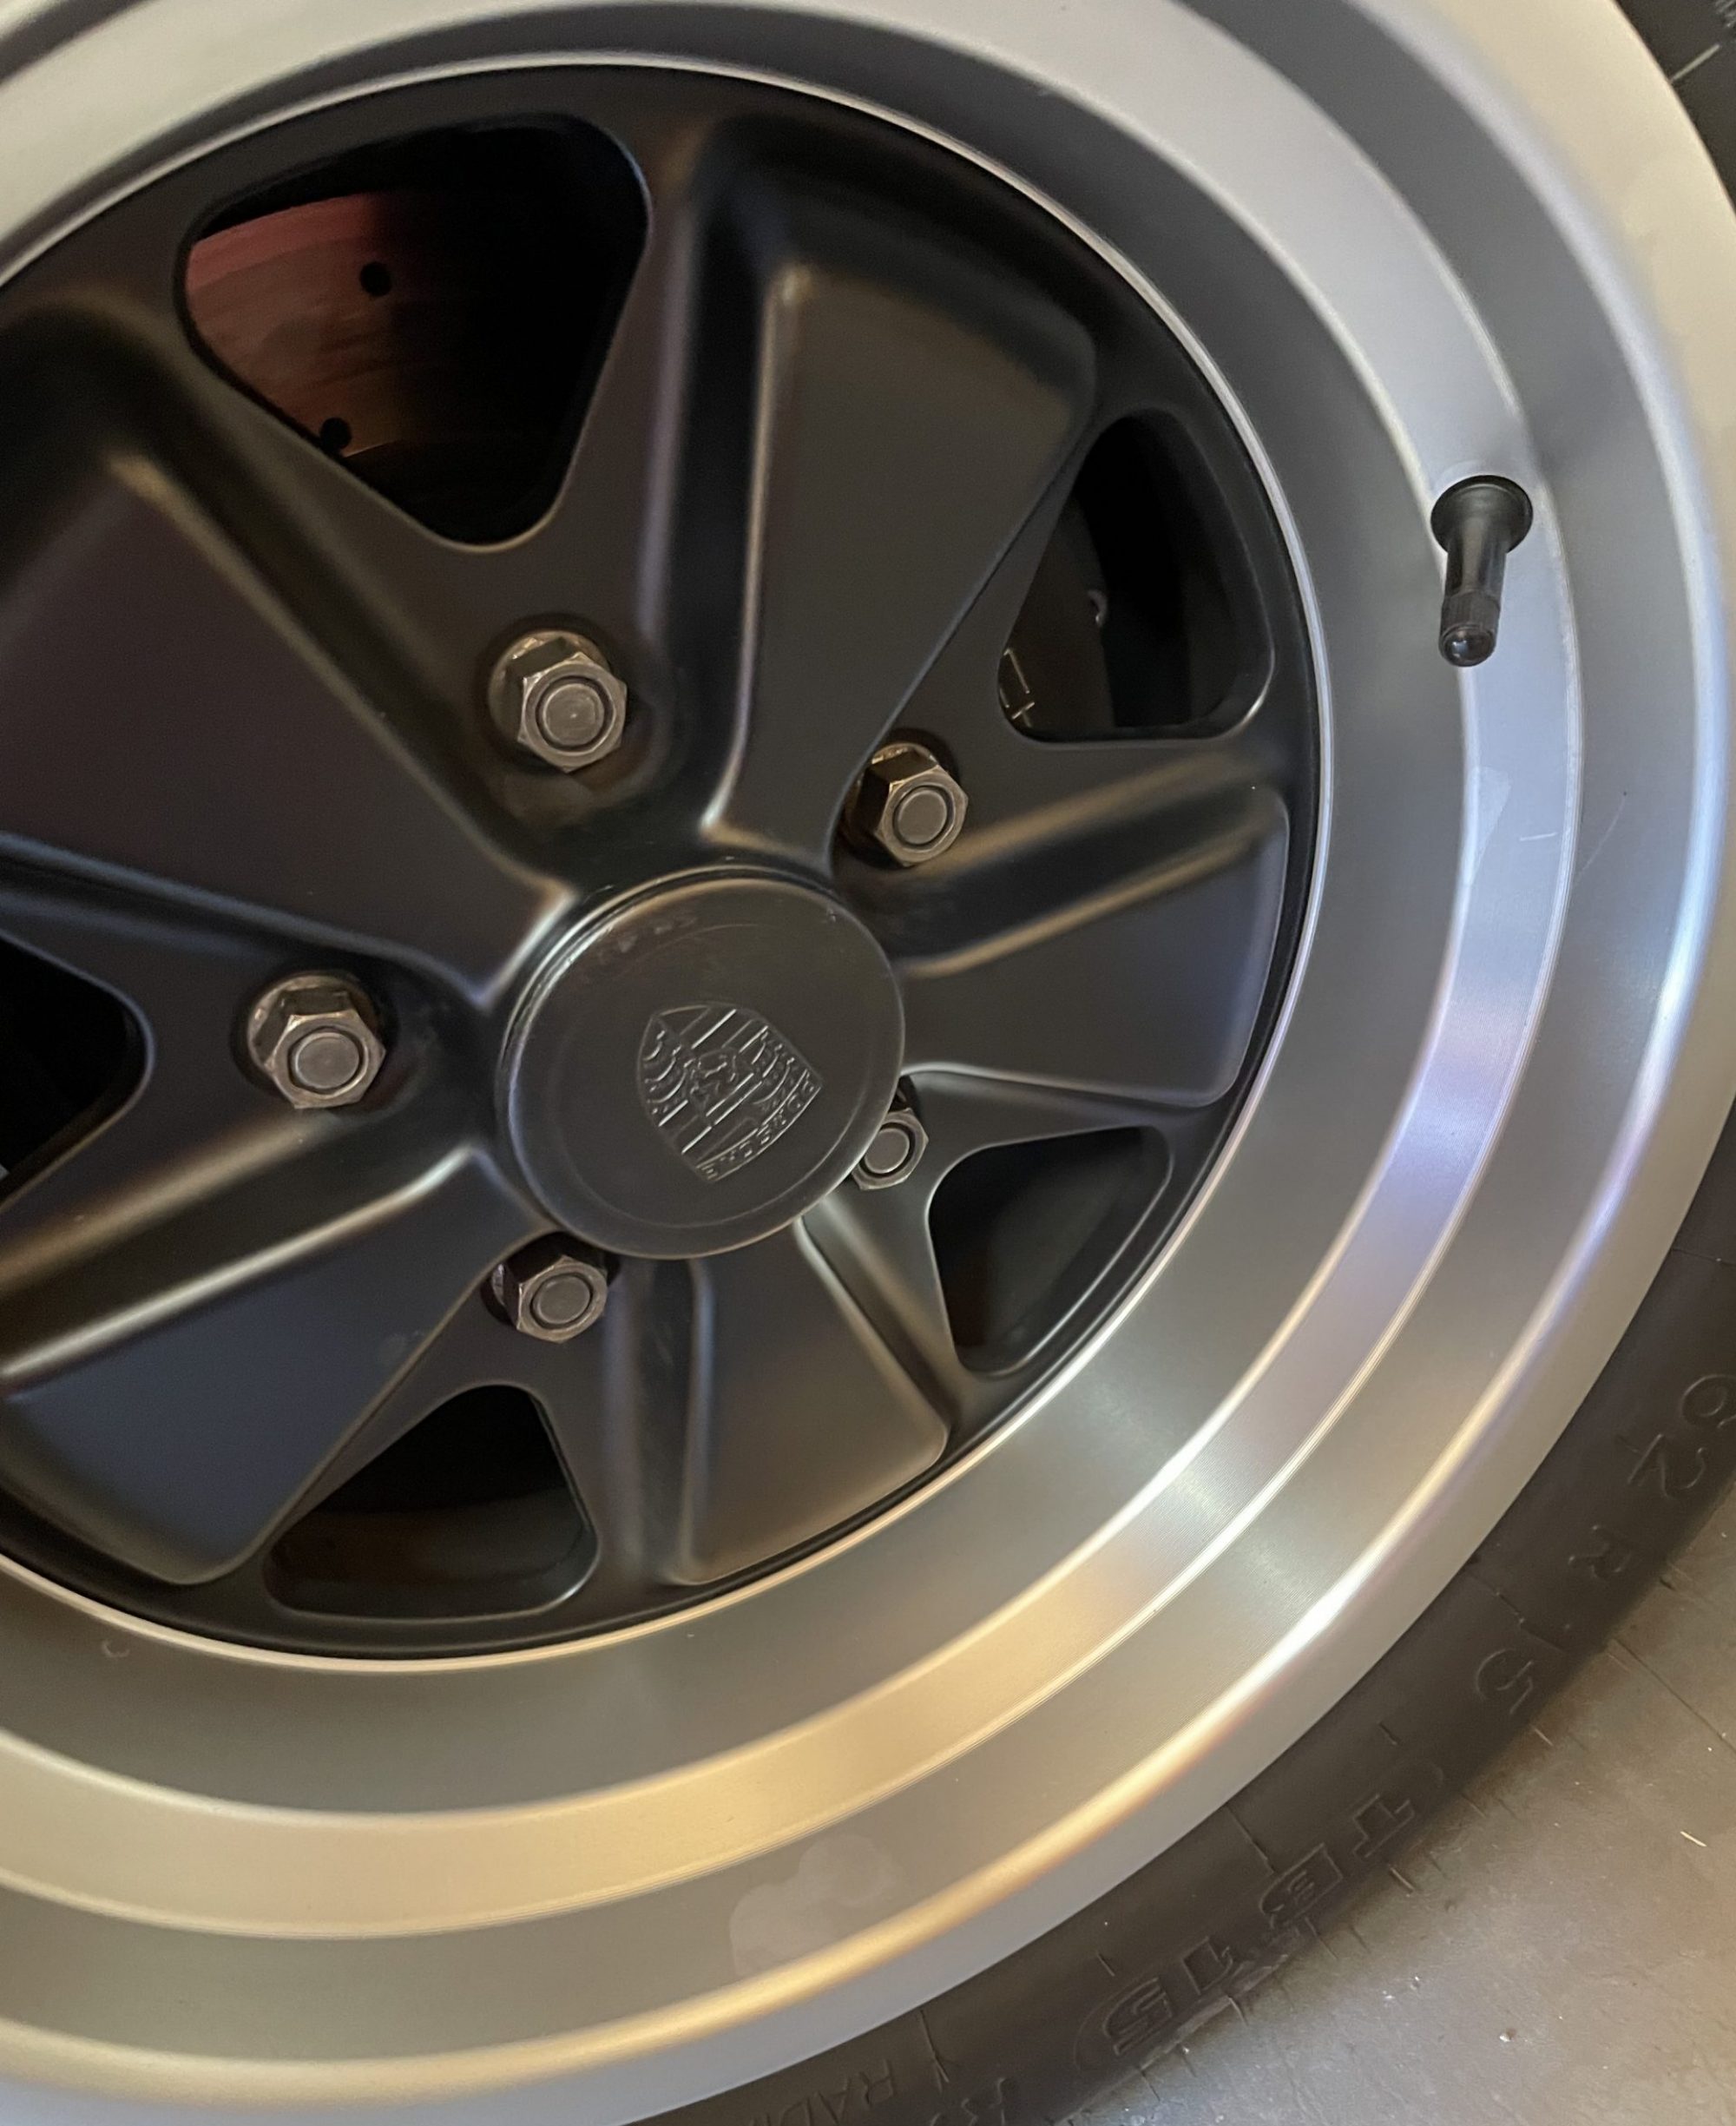

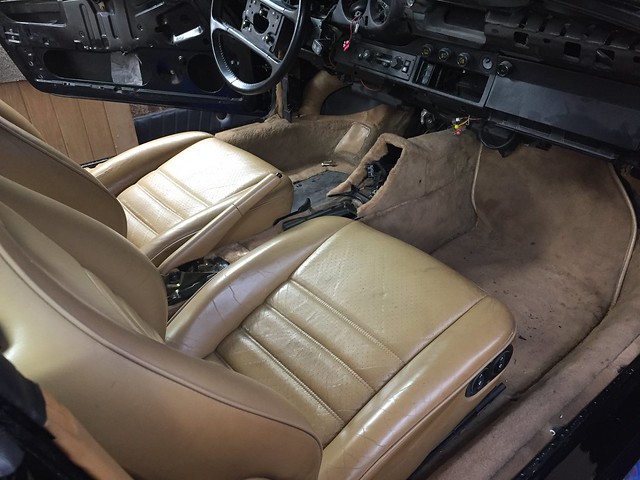
The interior had aged well but was the wrong colour so it had to go. Good opportunity for some more modern sound deadening and carpet to be fitted along with some re-trimmed parts and new seats. First job – out with the old.

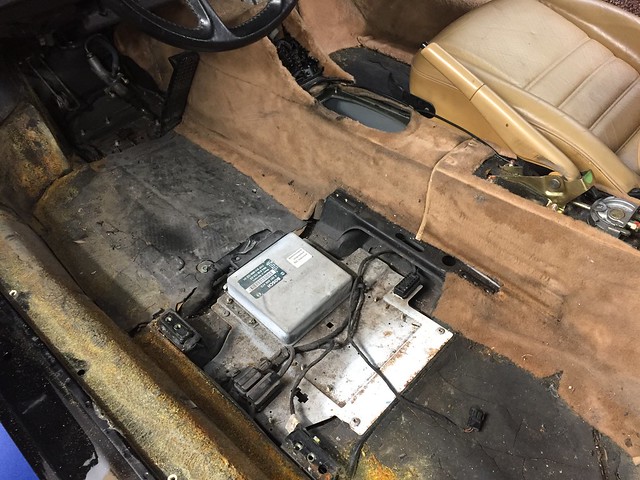
Then it’s a case of ripping up some carpet to expose the factory sound deadening mat and foam.
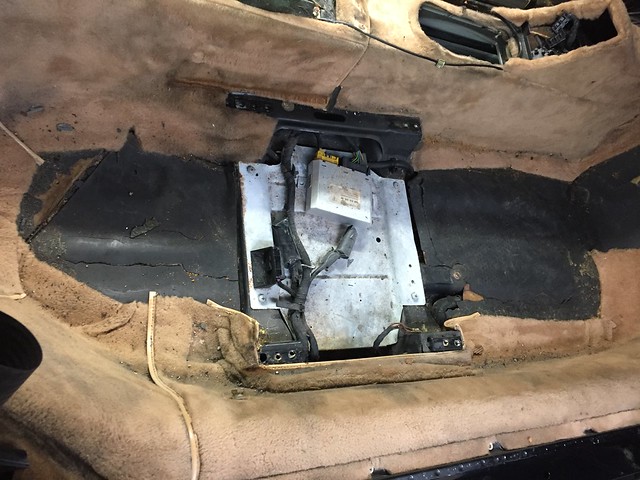
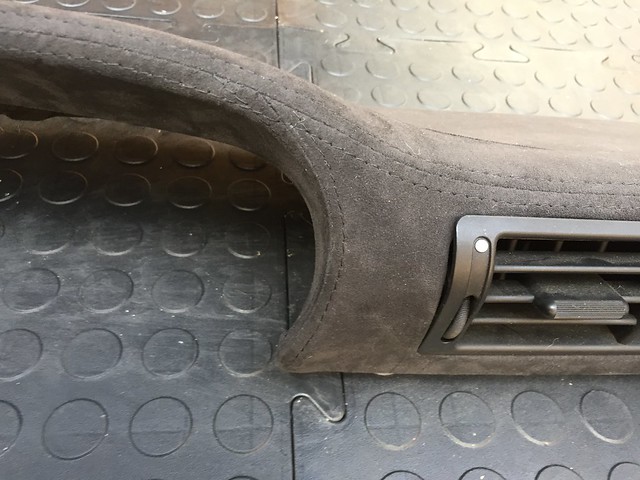
Relevant parts sent off to be re-trimmed in alcantara and period correct vinyl.

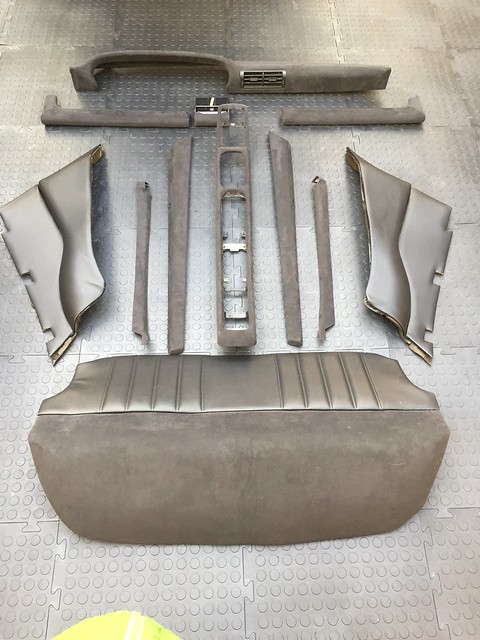

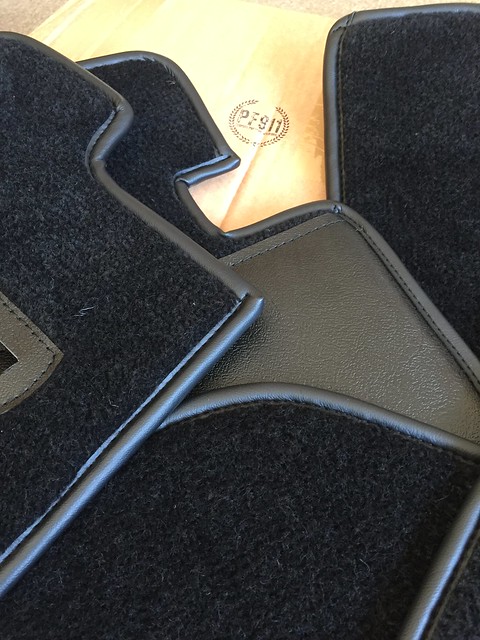
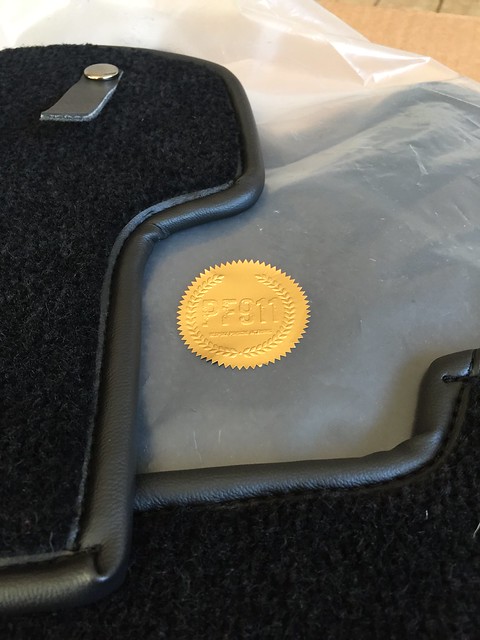
Fresh carpet set ready to fit.
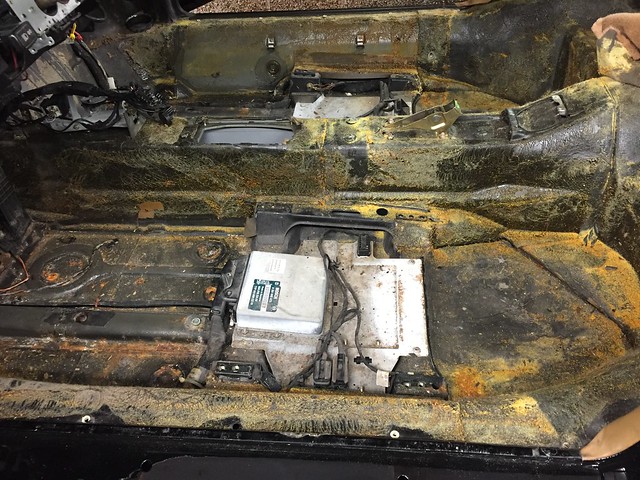
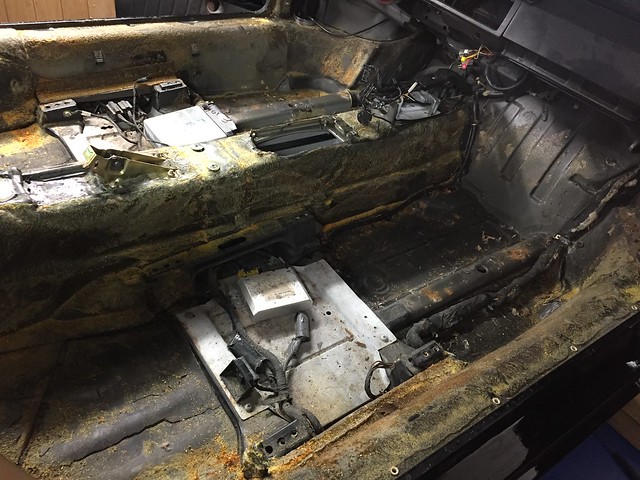
Sadly although the factory sound barrier was intact and in good condition it was impossible to clean the old crystallised glue off which meant the new carpet wouldn’t adhere correctly.
And so begins the long slow process of stripping all the foam and glue from the interior ready for it to receive new sound deadening, carpet and trim.
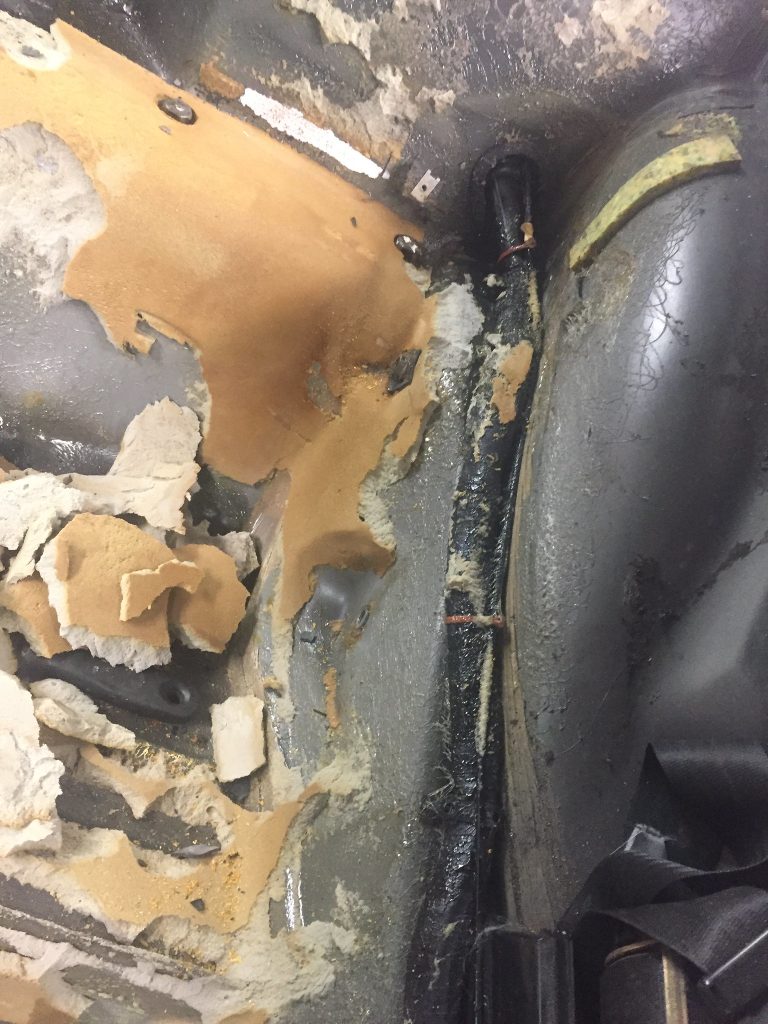

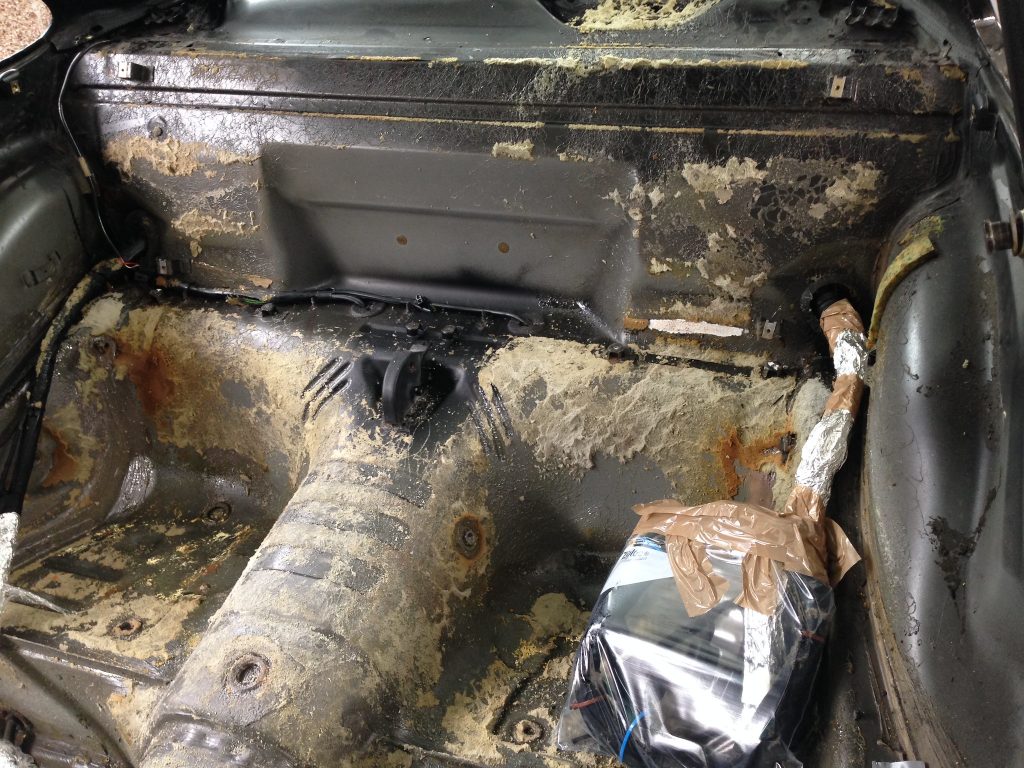
eleventy-hundred-zillion hours later…
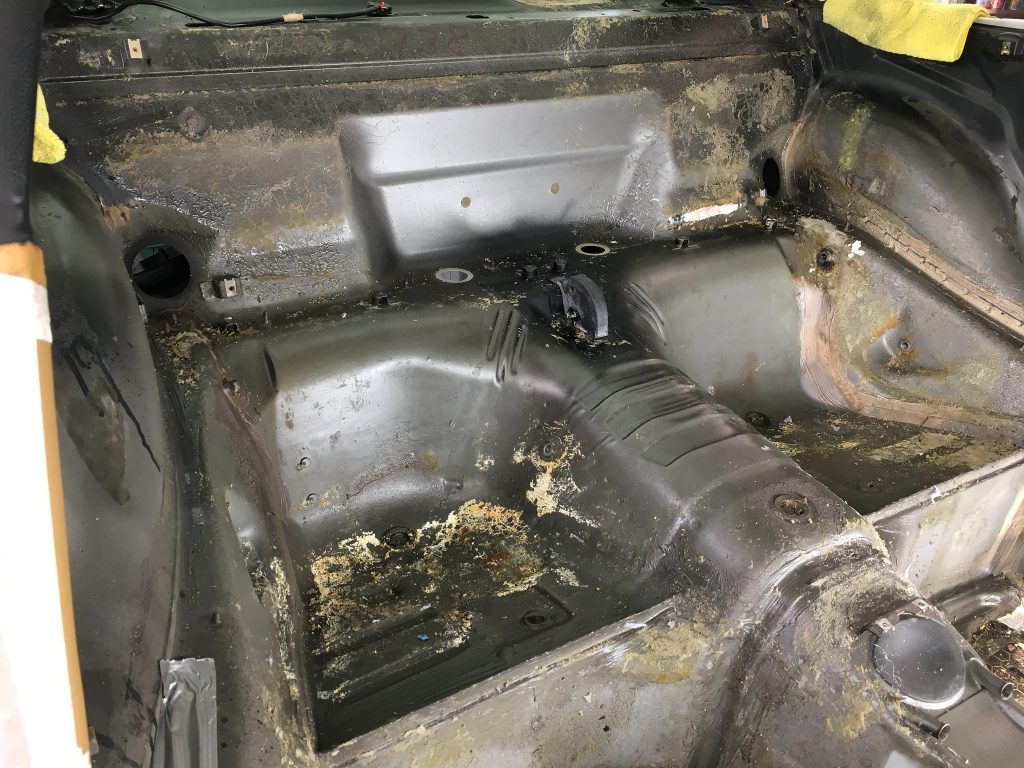
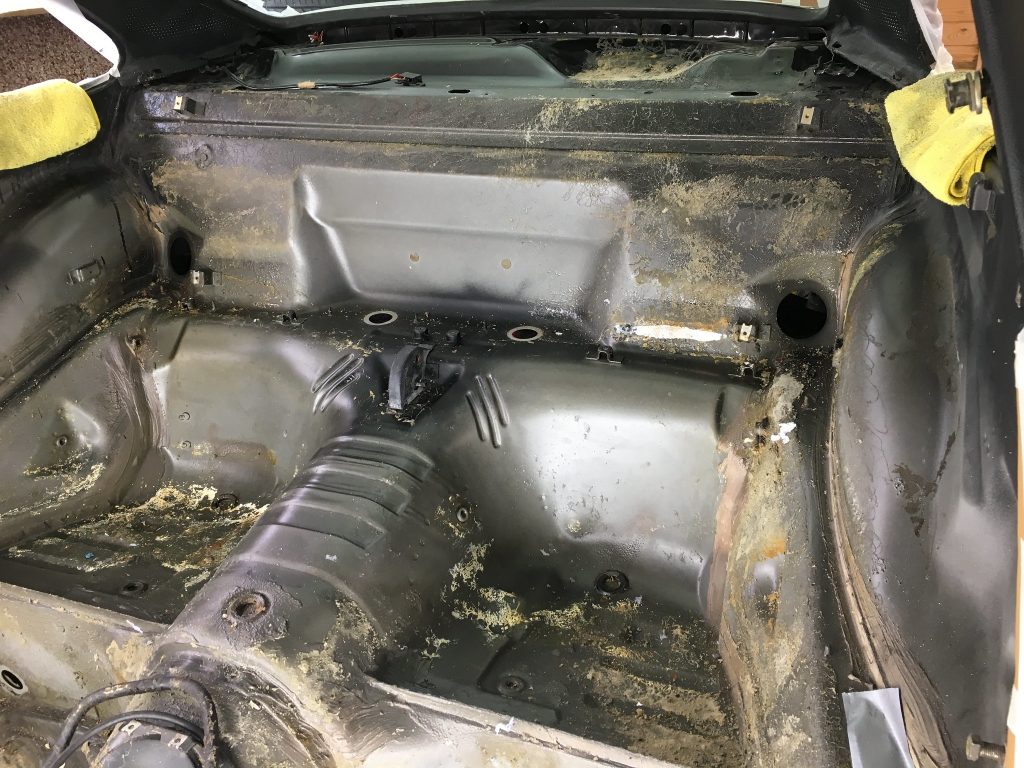
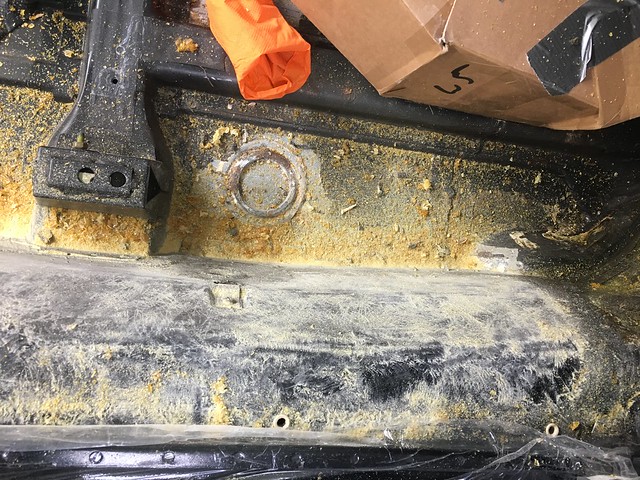
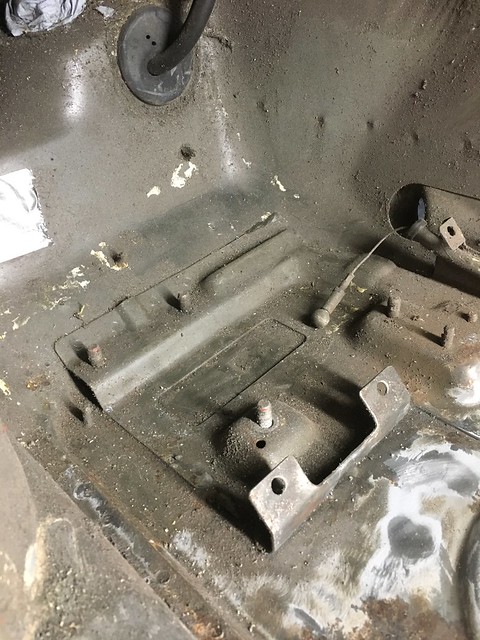
you end up somewhere like this…
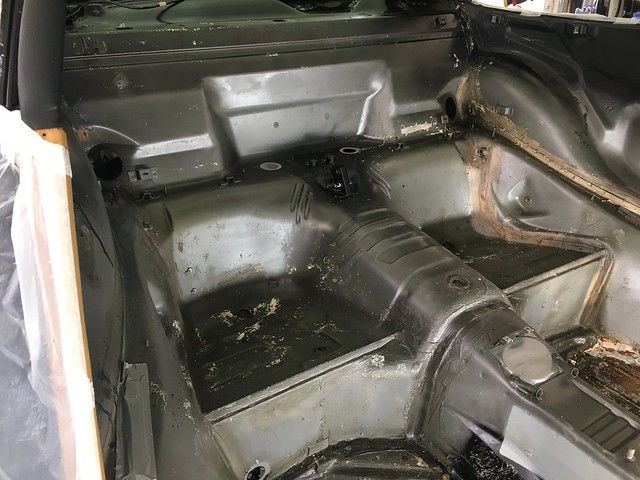
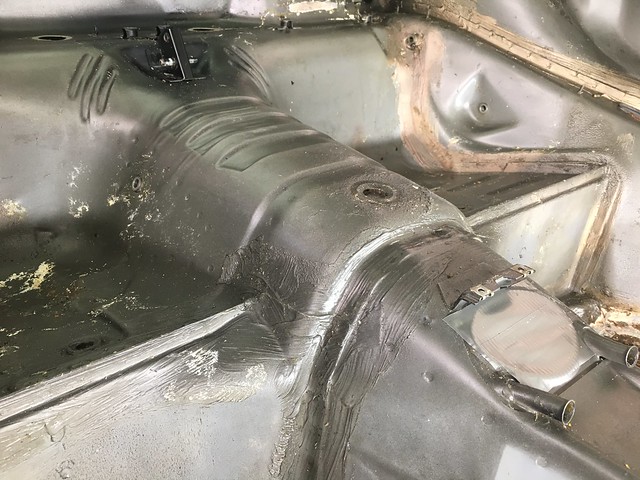
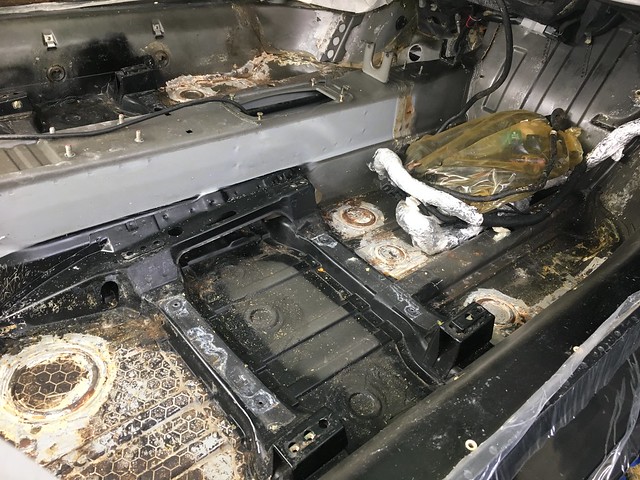
So once the majority of the glue was removed it was time to start dealing with the surface rust on the floorpans, out come the power tools!
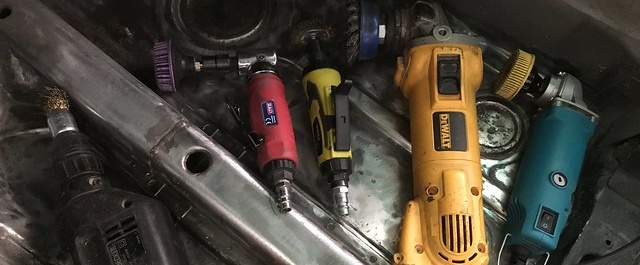
It is a several stage process with seam sealer first to remove, then large areas of paint then the ever so time consuming little detail areas – the tight corners are never ending!

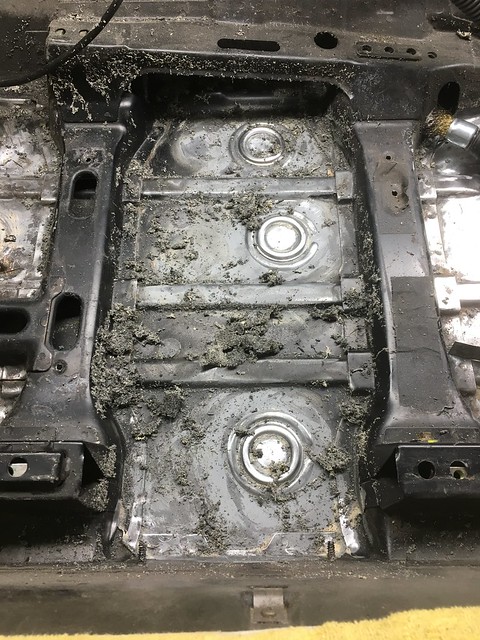
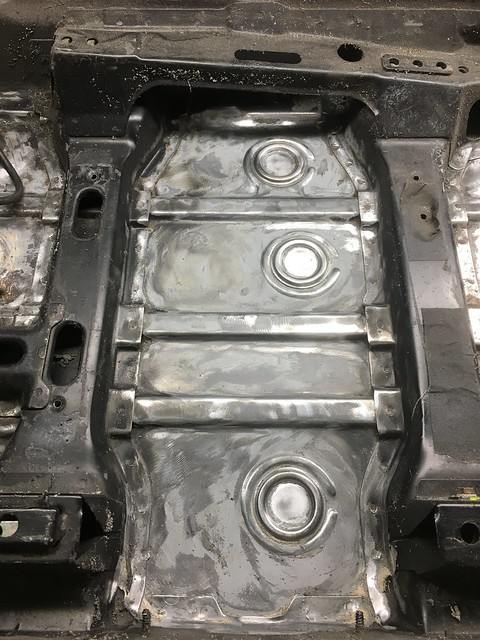
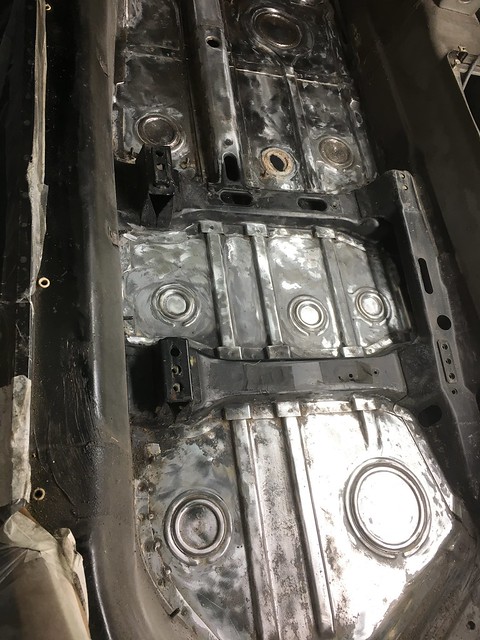
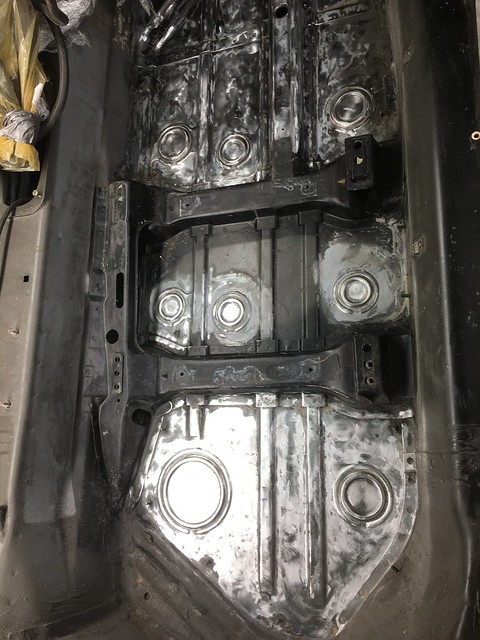
The pedal box area looked awful when first exposed due to all the rust stained glue and sound deadening – this area really is a water trap. Thankfully once the top layers were removed the metal underneath seemed to be in good order and will clean up nicely ready for some fresh paint and parts.